Installation and calibration of DXC220 (CO2) in incubator
General Information
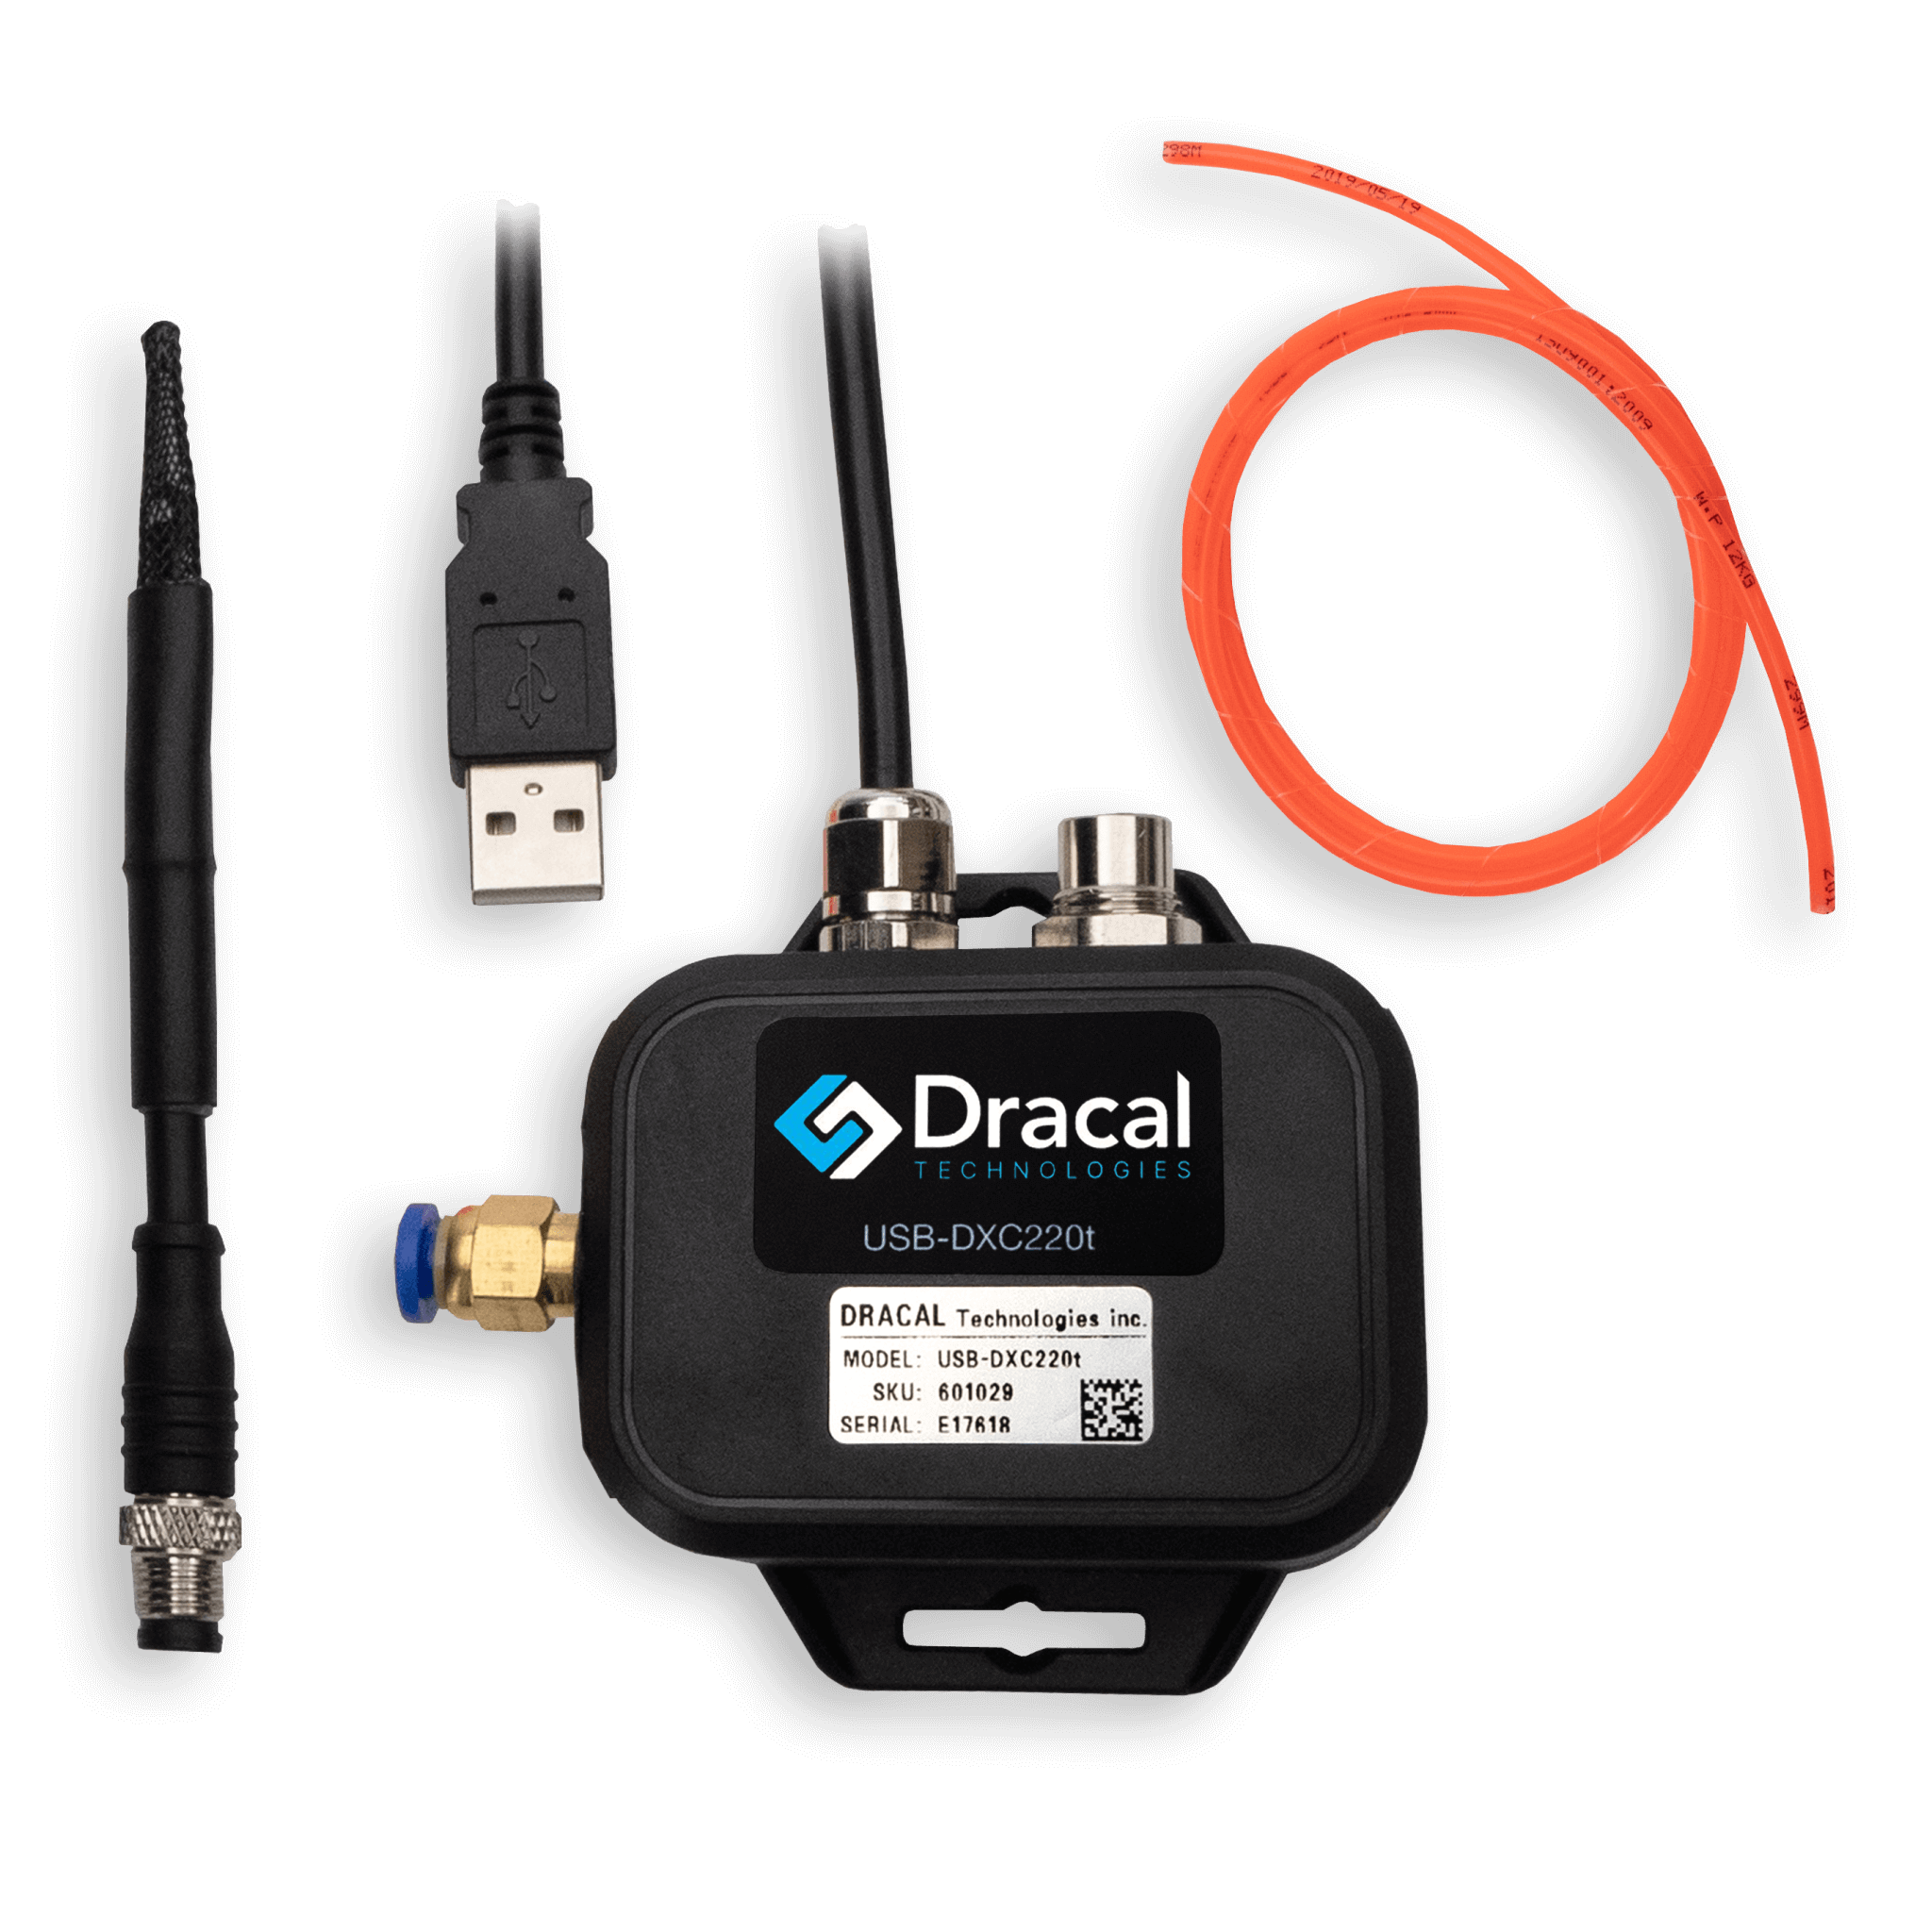
The DXC220 is a precision sensor that allows for the measurement of carbon dioxide (CO2) quantities in demanding or even hostile environments. This instrument covers the concentration range of 0 to 20% CO2.
These units are calibrated at the Dracal Technologies factory to a certified CO2 concentration level of 5%, at ambient temperature and relative humidity. These calibration conditions have been determined to cover various types of applications. However, when the usage conditions differ from the aforementioned calibration conditions, such as in an incubator setting, it is necessary to recalibrate the instrument to ensure optimal accuracy. Why?
Why do I need to calibrate my DXC220 for incubator usage?
All Dracal Technologies sensors incorporate electronic components that are sensitive to their environment. While this sensitivity allows for a level of precision that meets high scientific standards, it also means that to obtain the most accurate measurements possible, the instrument may need to be calibrated in its final usage environment. This is especially the case for the DXC220 used in incubator conditions.
The high relative humidity and temperature in an incubator significantly differ from the factory calibration conditions, which can affect the returned CO2 levels under these extreme usage conditions. As the CO2 reading mechanism of the DXC220 is based on the principle of measuring the absorption rate of light waves, the elevated humidity level has a particularly significant impact on the CO2 reading.
Additionally, since Dracal Technologies calibrates at a CO2 concentration level of 5%, this means that the optimal precision of a DXC220 upon receipt by the user is around this specific concentration level. If the user's use case involves a different concentration level (e.g., closer to 0% or 10%), it is strongly recommended to calibrate the instrument to CO2 levels similar to the final intended use case in order to improve accuracy.
That is why all our CO2 readers (DXC120 and DXC220) provide a one-point calibration mechanism for their CO2 reading channel free of charge.
Installation and Calibration of DXC220 in Incubator
1. Installation
For calibration using a certified gas cylinder, remove the black cap that blocks the direct gas inlet to the instrument by pushing on the blue ring that holds it. Insert one end of the orange tube supplied with the instrument into it. Connect the other end of the orange tube to your gas cylinder.
Properly disinfect your instrument with a disinfectant solution to avoid any contamination of your culture elements.
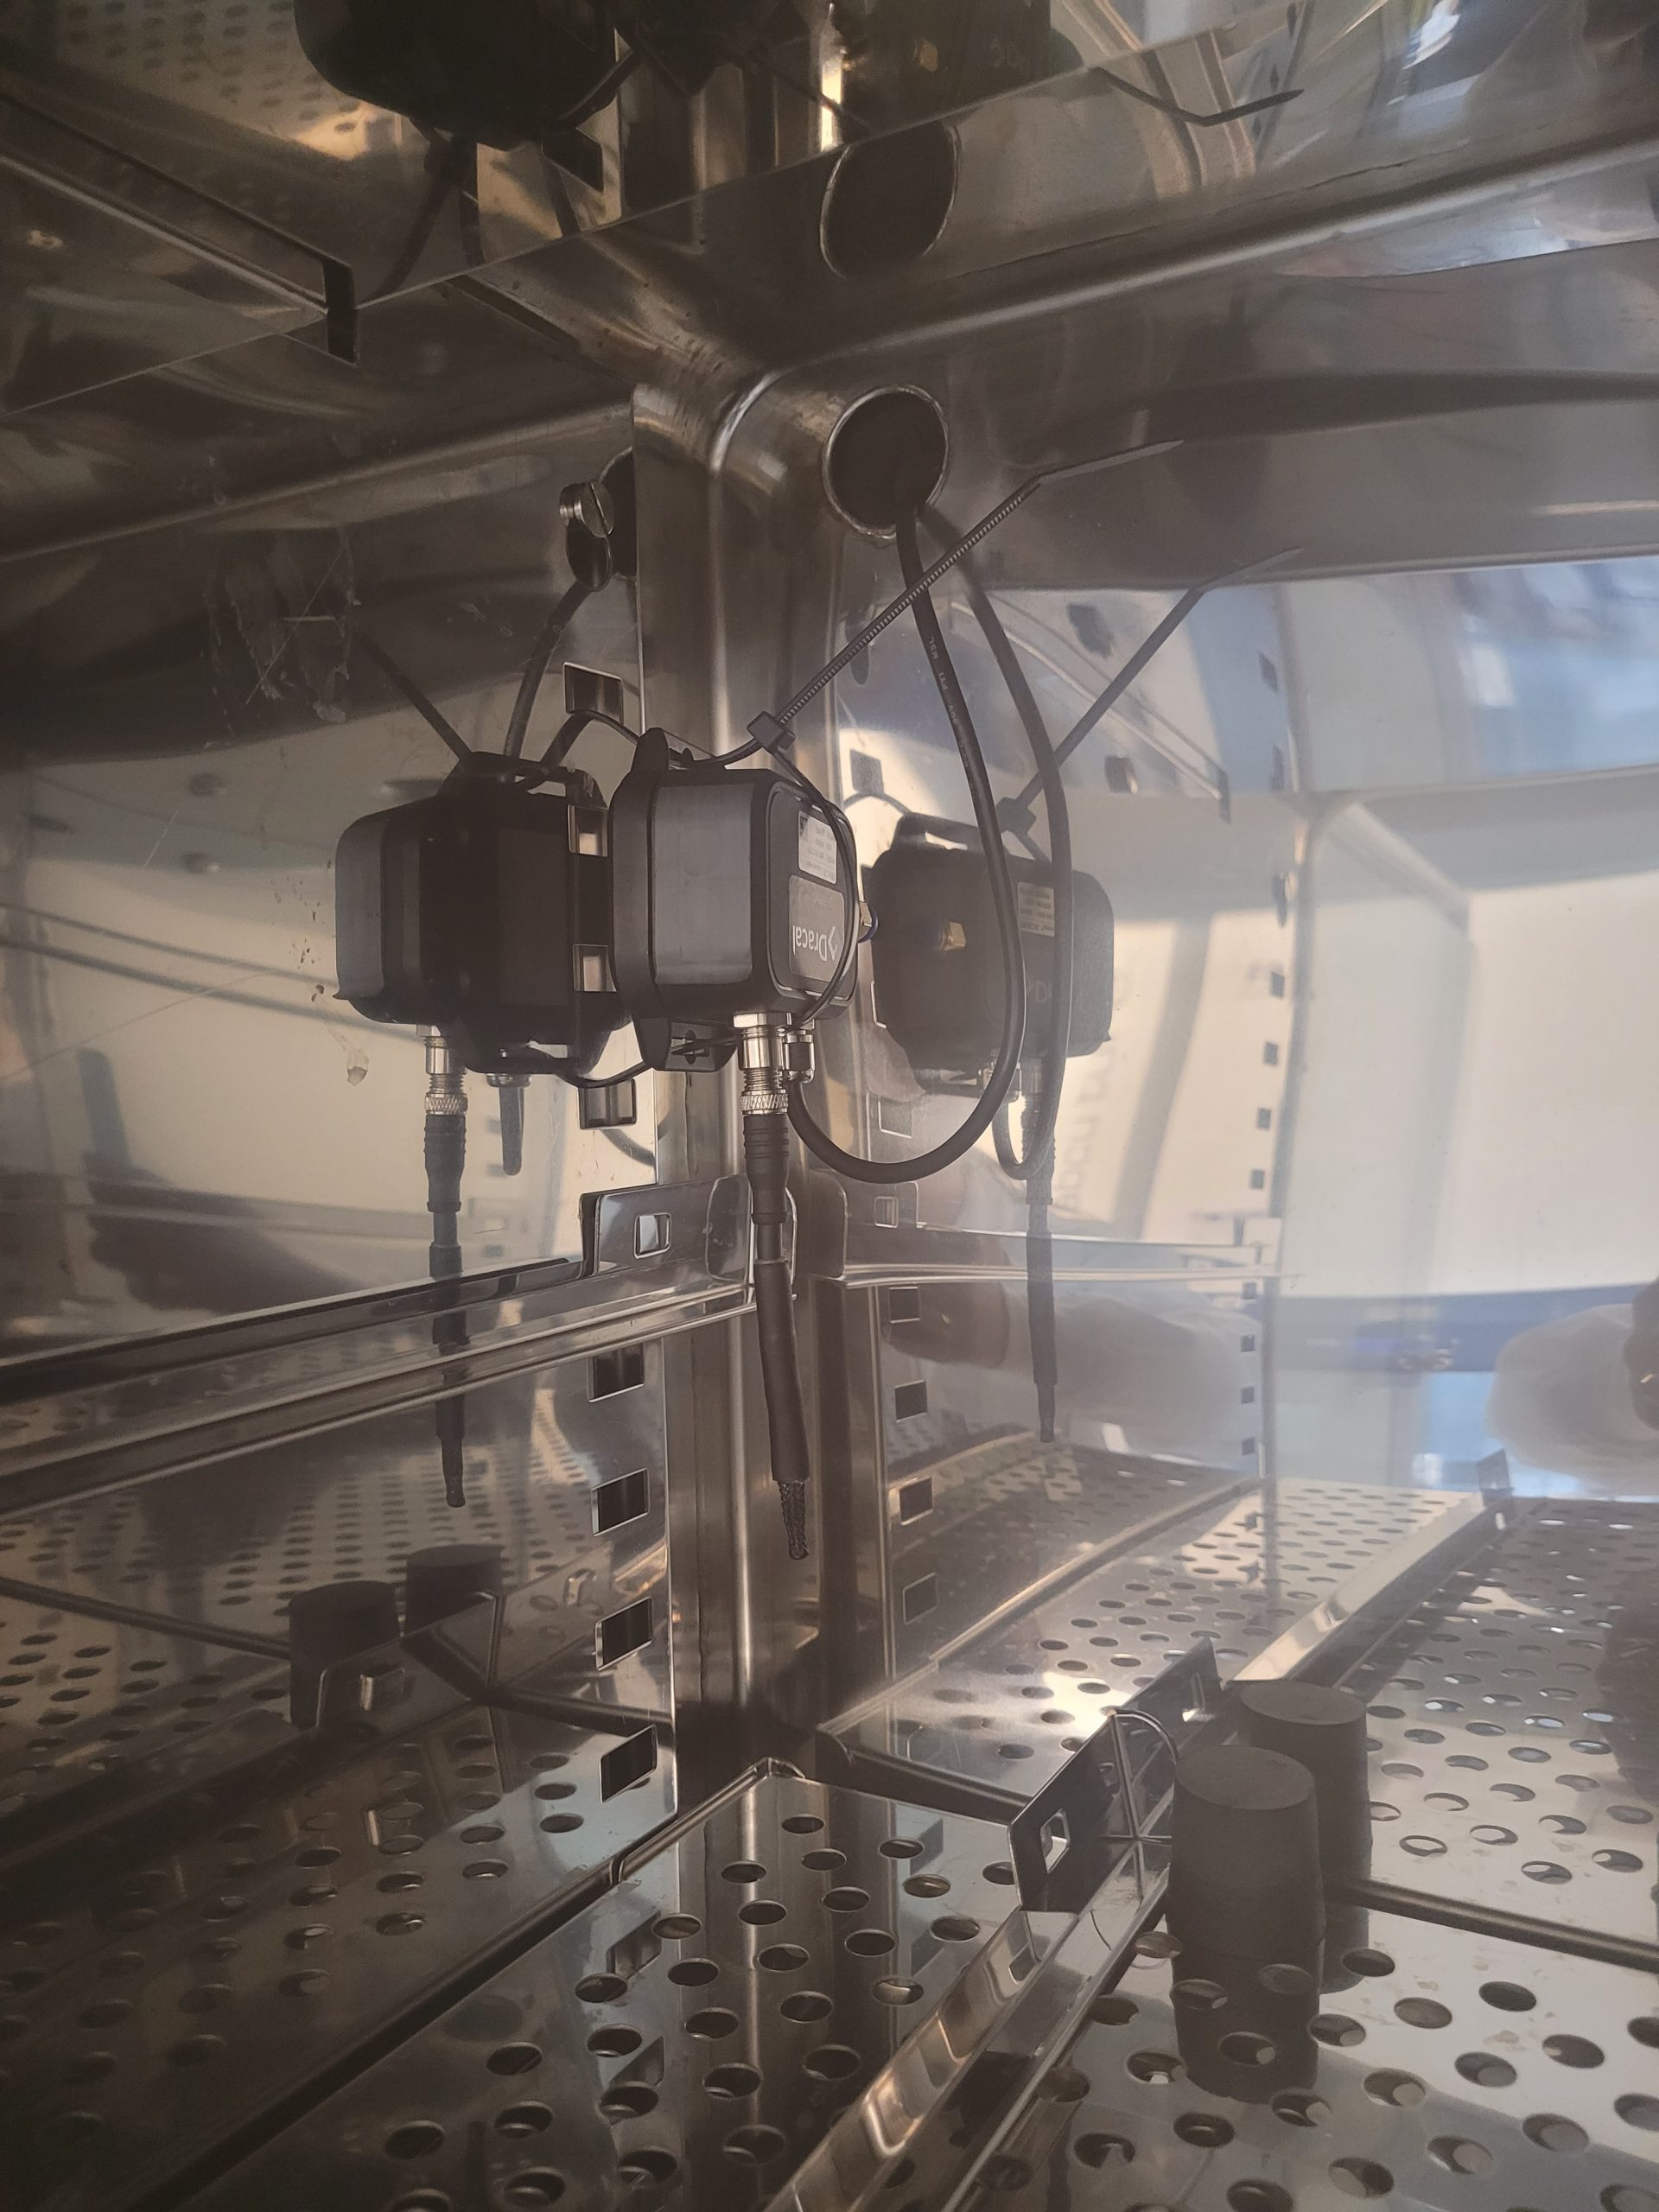
Place your sensor in an upright position inside your incubator. If you have a version that also includes an external temperature and relative humidity probe, it is important to position the probe so that the head of the probe points downward to prevent any condensation buildup.
Most incubators have an opening that allows for the passage of wires inside. Take advantage of this opening to route the USB cable outside.
The instrument has attachment holes for securing it. A simple nylon strap is sufficient to securely install the instrument in its final position.
2. Quick Verification
Consult our video tutorials where each software tab is presented in less than 3 minutes.
Plug in your instrument and, using DracalView, quickly validate your readings by graphically displaying the CO2 GAS PPM (filtered) channel through the Graph View tab. You can also display any other channel of your choice. If you are unsure which one to choose, simply display all of them. Preserve the graphical recording task and ensure that it is configured to display historical data over a one-week period.
It is also recommended to initiate a task to log all channels of the DXC220 in the Logging tab to ensure easy and secure redundancy of your valuable data.
3. Allow for 7 days of adaptation
Leave your sensor plugged in and powered on for 7 days in its final usage conditions for it to adapt to its environment. Use the Graph View to assess the stability of the readings.
4. Calibrate
Once the temperature, relative humidity, and CO2 readings have stabilized, calibrate your instrument. If you are calibrating using a certified gas cylinder, open the cylinder and let the reference gas flow into the instrument at a flow rate of 0.4 LPM. Observe the CO2 reading curve on the graph carefully to determine when it stabilizes.
Importante note: Stay close to your instrument. For best results, it is recommended to calibrate the instrument as soon as possible once the reading stabilizes to limit internal temperature and relative humidity changes. The gas you inject is drier and less humid than your operating conditions, and it is important to minimize the impact of these different conditions on your instrument. Be ready to calibrate as soon as the opportunity arises.
Click on the "Calibrate" button located to the right of the raw CO2 reading channel (CO2 GAS PPM (instant)) to open the calibration window. Enter the reference CO2 level in ppm, which should be returned at the precise calibration moment. Specifically, if you are calibrating using a certified gas cylinder, simply enter the concentration of the gas in question.
This operation is irreversible but can be performed an unlimited number of times. The applied calibration takes into account internal temperature parameters to provide temperature compensation and offer better accuracy for different temperature conditions.
5. Complete the Calibration
For those calibrating with a gas cylinder, make sure to close it properly. You can also quickly remove the orange tube from your instrument (by pushing the blue ring) and reinsert the black cap that was initially removed.
6. Visualize, Measure, and Integrate
Your sensor is now calibrated and ready for use. With the DracalView software, you can instantly visualize and log your data. It is also possible to easily redirect your data to your own software using our command-line tool dracal-usb-get, which is automatically downloaded during the installation of DracalView.
Conclusion
Once calibrated, your DXC220 allows you to measure CO2 levels, temperature, and relative humidity 24/7, 365 days a year, at temperatures up to 70°C and relative humidity levels of nearly 100% (as long as condensation conditions are not reached).
For any further questions regarding the installation and calibration of your DXC220, please contact us, and we will be happy to provide you with all the necessary support to help you move forward as quickly as possible with your project.